First update your package list by running:
| Code Block |
|---|
sudo apt update |
Next up is to install open-iscsi.
| Code Block |
|---|
sudo apt install open-iscsi |
Now that it is installed you will have to enable the service for it. Don't yet start it.
| Code Block |
|---|
sudo systemctl enable iscsid |
Time to configure iSCSI, first open the file "/etc/iscsi/initiatorname.iscsi". And set the Initiator Target to the correct value.
| Code Block | ||
|---|---|---|
| ||
InitiatorName=iqn.2005-10.be.iswleuven.nas1 |

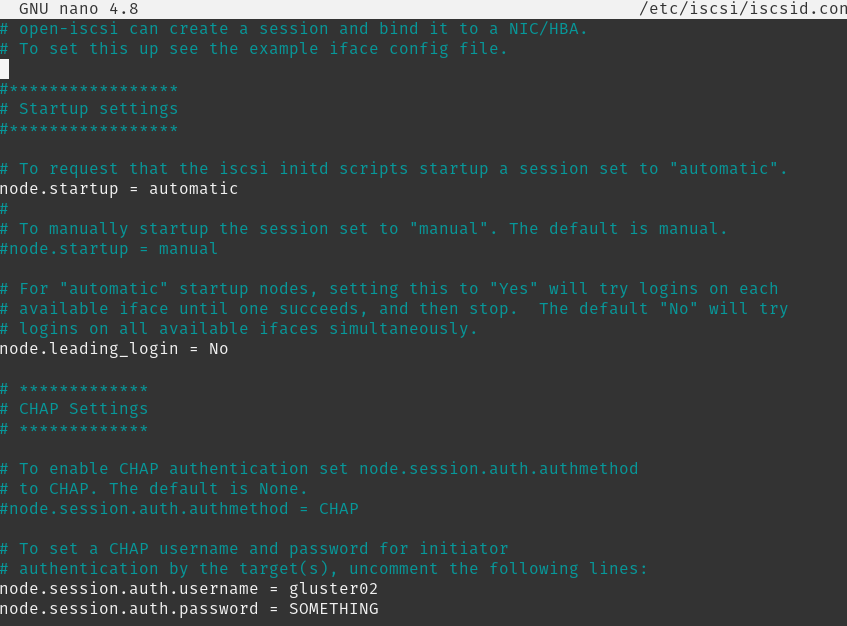
Time to open the iSCSI configuration file. Comment the manual version and uncomment the automatic line.
| Code Block | ||
|---|---|---|
| ||
# To request that the iscsi initd scripts startup a session set to "automatic". node.startup = automatic # # To manually startup the session set to "manual". The default is manual. #node.startup = manual |
Also if you have a CHAP username and password set configure it using "node.session.auth.username" and "node.session.auth.password".
Once that is done you can run the following:
| Code Block |
|---|
sudo iscsiadm -m discovery -t sendtargets -p <iSCSI_SERVER_IP> |
This command will list all the available targets you can use. To actually login to a target you can write:
| Code Block |
|---|
sudo iscsiadm -m node -p <iSCSI_SERVER_IP> -T <TARGET> --login
# For example:
sudo iscsiadm -m node -p 172.20.250.1 -T iqn.2005-10.be.iswleuven.nas1:gluster02 --login |